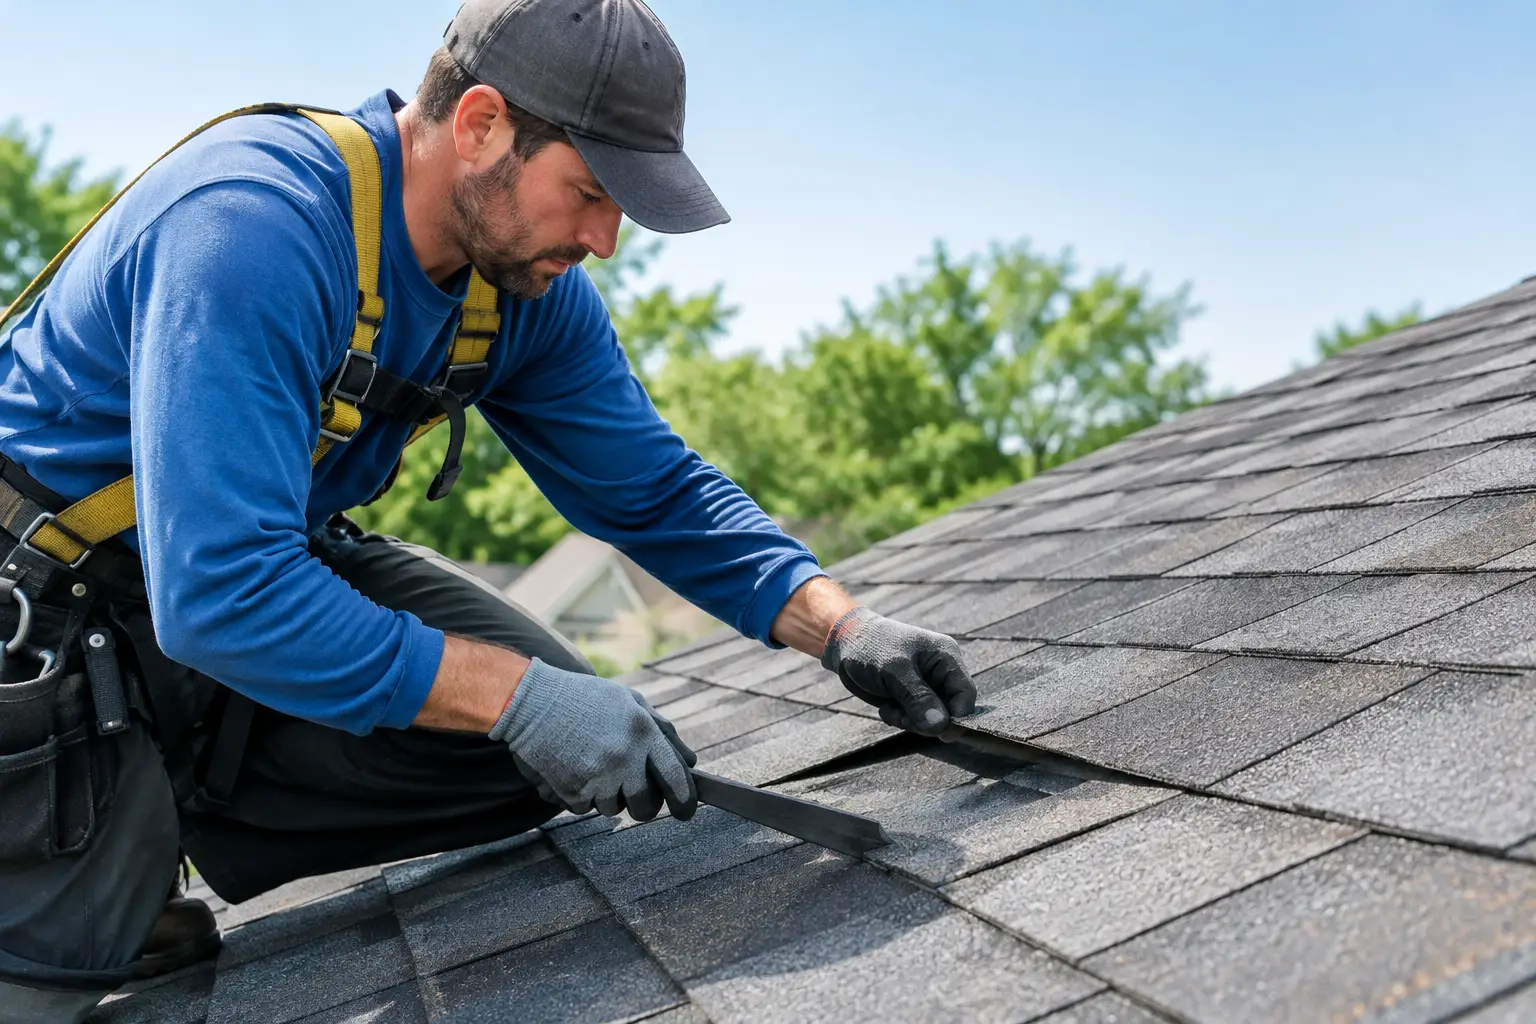
How to Repair an Asphalt Shingle Roof Safely

A missing shingle may look like a small problem from the ground, but it can expose the roof deck to wind-driven rain long before a ceiling stain appears. Knowing how to repair asphalt shingle roof damage starts with identifying what failed, finding the source of any leak, and deciding whether the repair is truly within safe reach.
For many homes, a localized repair can extend the life of an otherwise sound roof. But shingles, flashing, pipe boots, underlayment, and decking work together as one system. Replacing the visible damaged shingle without addressing a loose flashing edge or wet roof deck can leave the real problem in place.
Start With a Safe, Close Inspection
Do not walk a roof just because you see a few shingles out of place. Asphalt shingles can become brittle with age, and slopes that appear manageable from the ground can be dangerous once dust, loose granules, morning dew, or heat are involved. Never work on a wet roof, during windy conditions, or near power lines. Use a properly secured ladder and have another person nearby.
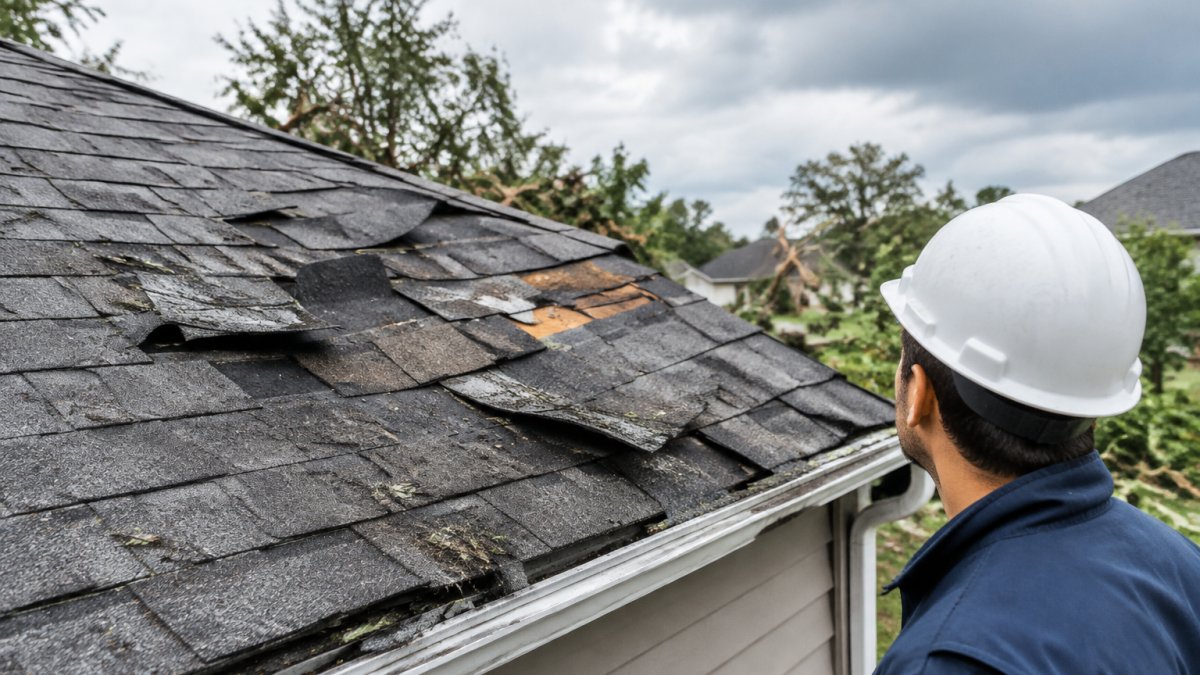
Begin from the ground with binoculars if possible. Look for shingles that are curled, cracked, torn, lifted at the edges, missing, or shedding noticeable granules. Check roof valleys, the areas around plumbing vents, chimneys, skylights, and walls, and any spot where tree limbs have struck the roof. These transitions are common leak points.
Inside the attic, use a flashlight to inspect the underside of the roof. Dark staining, damp insulation, mold growth, or daylight around a roof penetration can help narrow down the problem. Keep in mind that water often travels along decking or framing before it drips. The stain on a ceiling may be several feet away from the actual roof opening.
If you see sagging decking, widespread shingle damage, active interior leaking, or soft areas underfoot, stop there. Those conditions call for a professional inspection rather than a surface-level patch.
Gather the Right Repair Materials
A basic asphalt shingle repair usually requires replacement shingles that closely match the existing roof, roofing nails, a flat pry bar, a hammer, utility knife, and roofing cement. For repairs around penetrations or wall intersections, you may also need replacement flashing or a new pipe boot.
Matching shingles matters for more than curb appeal. Architectural shingles have a thicker, layered profile, and using the wrong style can create a weak-looking repair that does not lay correctly. Color matching can be difficult on an older roof because weathering changes the original shade. A bundle left over from the original installation is ideal. If that is not available, bring a loose sample to a roofing supplier when possible.
Use galvanized roofing nails of the correct length. Nails should pass through the shingle and into the roof deck without being so long that they create a hazard below. Avoid relying on roofing cement alone to hold a replacement shingle in place. Cement is a sealant and support material, not a substitute for proper fastening.
How to Repair Asphalt Shingle Roof Damage
Replace a cracked, torn, or missing shingle
For a single damaged shingle, work carefully so you do not tear the shingles around it. Asphalt shingles are installed in overlapping courses, which means the nails holding one shingle may be covered by the course above.
Start by gently lifting the tabs of the shingle directly above the damaged one. Slide a flat pry bar beneath the tab and loosen the adhesive strip with slow, even pressure. Then lift the damaged shingle enough to locate its nails. Remove the nails without damaging the surrounding material, and slide the old shingle out.
Cut the replacement shingle to fit if the damaged piece is part of a three-tab course or requires a specific shape near a valley or roof edge. Slide it into position, aligning it with the surrounding courses. Nail it in the manufacturer’s designated nail line, usually with four nails for a standard shingle, though some high-wind applications require more.
Apply a small amount of roofing cement beneath the lifted tabs and press them back into place. Do not use excessive sealant. A large smear can trap debris, interfere with drainage, and look like a temporary patch from the ground.
Reseal lifted shingle tabs
A shingle that has lifted but is not cracked or creased may only need to be resealed. This is common after wind events, particularly along rakes, ridges, and exposed roof edges. Make sure the shingle is dry and the underside is clean before applying a small amount of compatible roofing cement beneath the loose tab.
Press the tab down firmly, but do not add nails through the visible face of the shingle unless the installation design and location specifically require it. Exposed fasteners can become future leak points. In hot Northern California weather, shingles may be softer and easier to manipulate, but roofing cement can also become messy and difficult to control. Early, dry daylight hours are often the better time for minor repairs.
Repair damage around pipe boots and flashing
A leak near a plumbing vent is often caused by a cracked rubber pipe boot rather than the shingles themselves. The rubber collar can dry out and split over time, allowing water to enter around the pipe. Replacing the boot generally requires loosening the surrounding shingles, removing the old flashing assembly, and sliding the new boot into the correct layered position.
Flashing should always direct water onto the surface of the shingles, not behind them. The upper edge of step flashing or a pipe boot flange belongs under the shingles above it, while the lower edge remains exposed so water can shed downhill. If the flashing is bent, rusted through, improperly layered, or heavily sealed with old mastic, a professional repair is often the smarter option. Correct flashing work is precise, and mistakes can create a leak that stays hidden until decking begins to rot.
Check the Roof Deck Before Closing the Repair
When shingles have been missing for more than a short time, inspect the exposed deck. Solid decking should feel firm and look dry. Darkened wood, soft spots, delamination, or crumbling edges suggest water has reached the structure beneath the shingles.
A small area of damaged decking can sometimes be replaced as part of a localized repair. The trade-off is that this work involves removing more roofing material and confirming the new panel is properly supported by framing. Covering compromised wood with underlayment and new shingles may hide the issue temporarily, but it will not restore the roof’s strength.
Before installing the replacement shingle, replace any torn underlayment and make sure the repair area sheds water in the same direction as the original roof system. Underlayment is the backup barrier, not the primary weather surface, but it matters when rain gets past the shingles during a storm.
Know When a Repair Is Not Enough
A repair makes sense when damage is isolated and the rest of the roof still has useful life. One or two wind-damaged shingles, a failed pipe boot, or a small flashing issue may be practical repairs when addressed quickly.
Replacement may be the better value when shingle damage is widespread, the roof has recurring leaks, granule loss is extensive, or many tabs are brittle and no longer seal properly. If you replace a few shingles and more begin cracking during the work, that is often a sign the roof has aged beyond spot repairs.
Roof age also matters. An older roof may be more likely to sustain damage when neighboring shingles are lifted to access a repair. That does not mean every older roof needs immediate replacement, but it does mean homeowners should weigh the cost of repeated service calls against a properly planned reroof.
For property owners in Lake County and surrounding Northern California communities, seasonal wind, heat, tree debris, and heavy rain can all expose weak spots quickly. A professional inspection provides a clear picture of whether the problem is confined to one area or part of a larger roof-system issue. Hurtado’s Roofing approaches repairs the same way we approach every SHINGLE time: identify the cause, explain the work clearly, and complete the repair with materials and details built to hold up.
A roof repair should leave you with more than a shingle that looks new. It should restore a clear path for water to shed, protect the layers underneath, and give you confidence the next storm is not going to turn a small issue into interior damage.


Comments